
Week 2
Week 2 Description:
Week 2
Design Tools
Assignment: Use drawing software to draw final project
2D Design:
-Raster: Photoshop
-Vector: Illustrator
3D Design:
Inventor or Maya
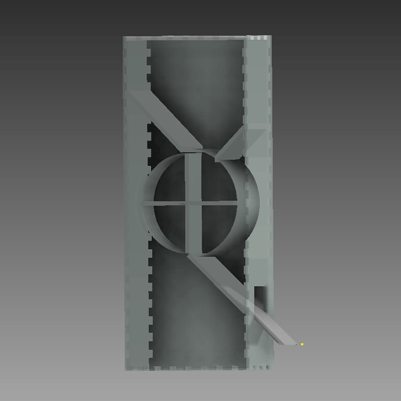
Learning Inventor:
After hearing the drawing based software I decided on Inventor. I already have extensive knowledge about Illustrator and Photoshop.
- New – (Always create a different file for each part)
- Standard IPT (part file) – Create
- Start 2D Sketch
- Pick a plane by clicking on it
- Create – Dimensions
- Zoom all to see whole shape by clicking on the magnified glass in the right tool panel
- Use the check mark to Finish 2D Sketch
- Extrude to depth (button at top tool bar)
- Adding a hole
- Start 2D sketch button
- Create shape
- Extrude
- Use the Cut button (middle button)
- Change the dimension of something that is already made
- Left model box
- Sketch 1 (find part)
- Right click
- Edit Sketch
- Creating a press fit box: Open one side (part)
- New sketch
- Click on face
- Add rectangle (correct size .5 X .5)
- Dimension to side & top of large shape
- Edit Sketch – Select all 4 sides
- Rectangular pattern button on top tool bar
- Use arrows to reverse direction of pattern
- # of repeats
- Distance to repeat
- Check to finish sketch
- Extrude
- Click cut button
- Click on all boxes that need to be cut
- Assembling your model:
- New
- iam standard
- Place
- Open anchor file
- Click to place
- Right click and ok
- Click the constrain button
- Click on the edge or face of part
- Repeat to the other part
- Apply*
- Repeat these steps with Merge and Align
- Make sure you Merge something first
- Constrain = Glue
- Mate: puts them together
- Flush: Even
Illustrator:
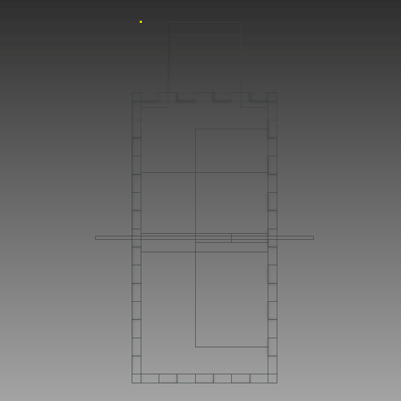
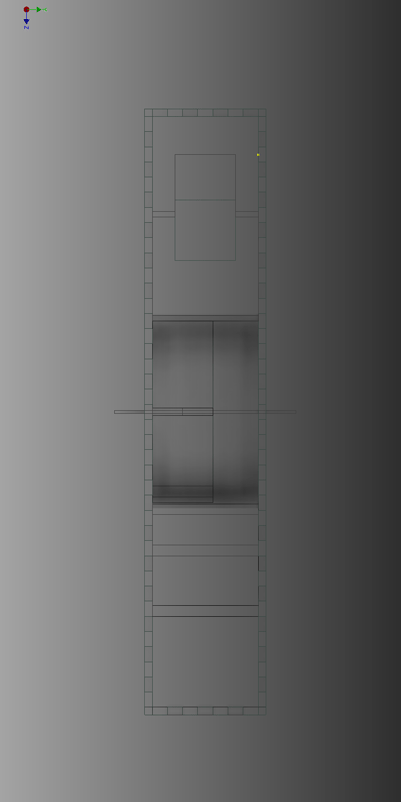
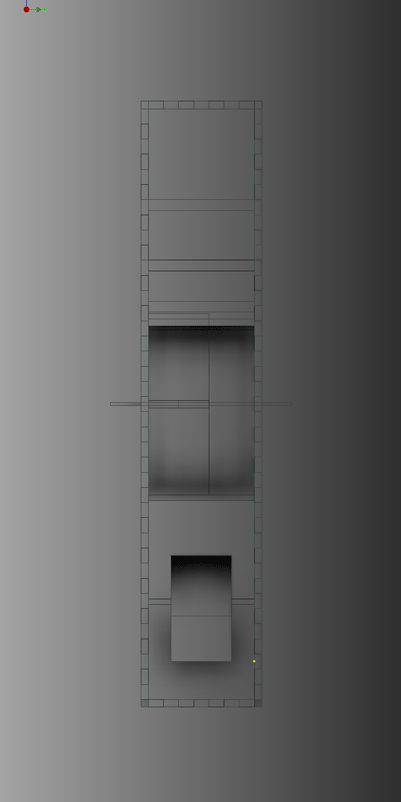
I used Illustrator to produce my initial sketch of the project in Week 1.
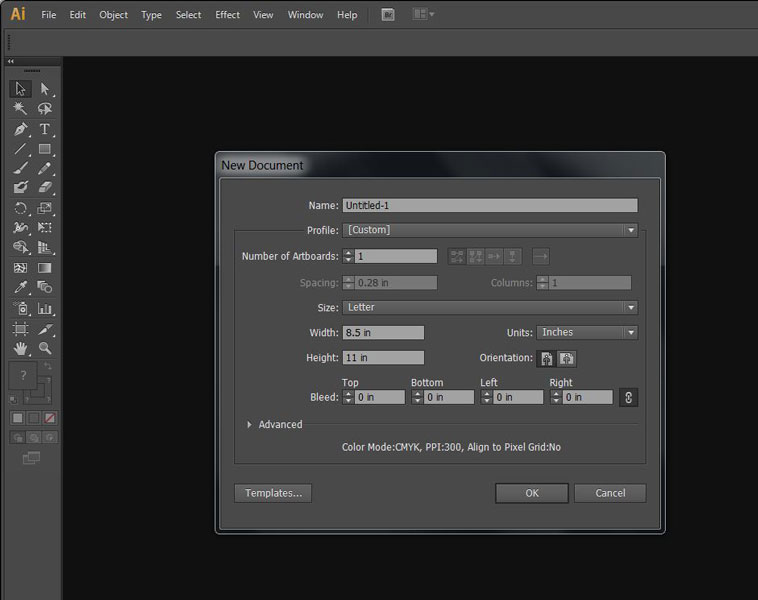
I opened Illustrator, created a new document - File, New, 8.5 X11"
Use the shape tool to create a rectangle
Make all of the rectangles and shapes you will need
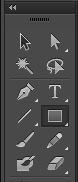
You will also need to use the selection tool to move things
The white arrow is the direct selection tool that you can use to move points and anchors instead of the whole vector
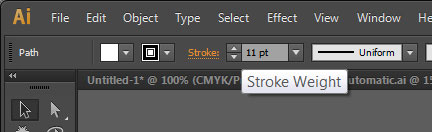
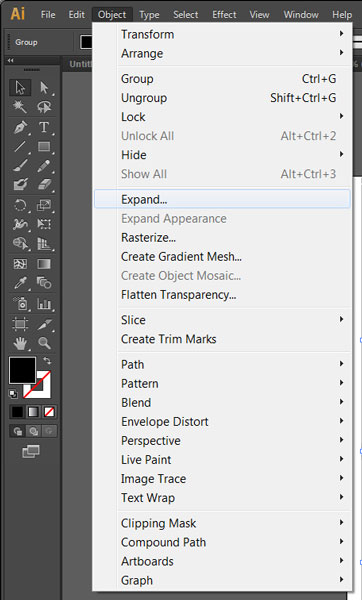
After making allof the shapes you can change the stroke (thickness of the line) and then go to object expand to make the vector path into a shape with more then one path and multiple anchors.
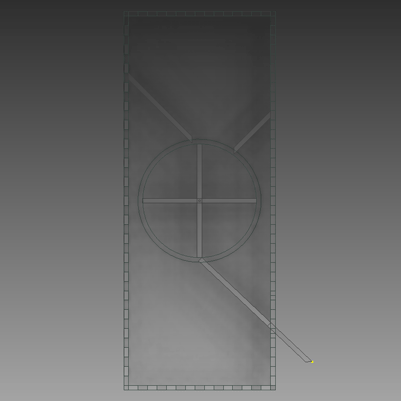
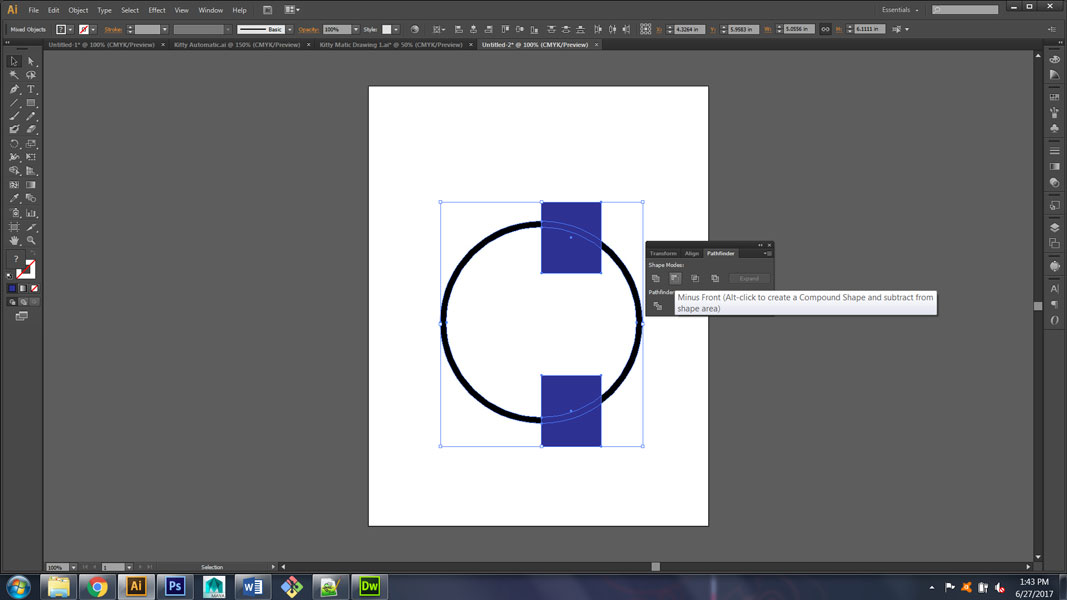
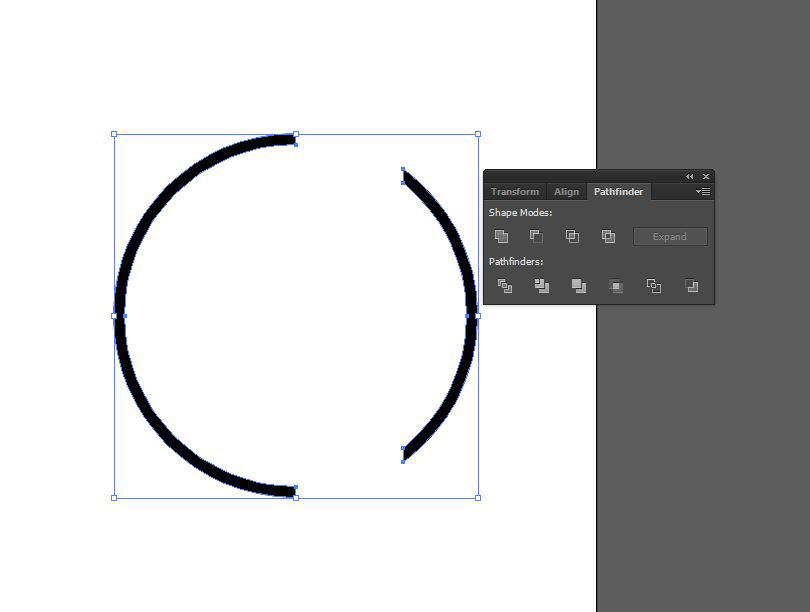
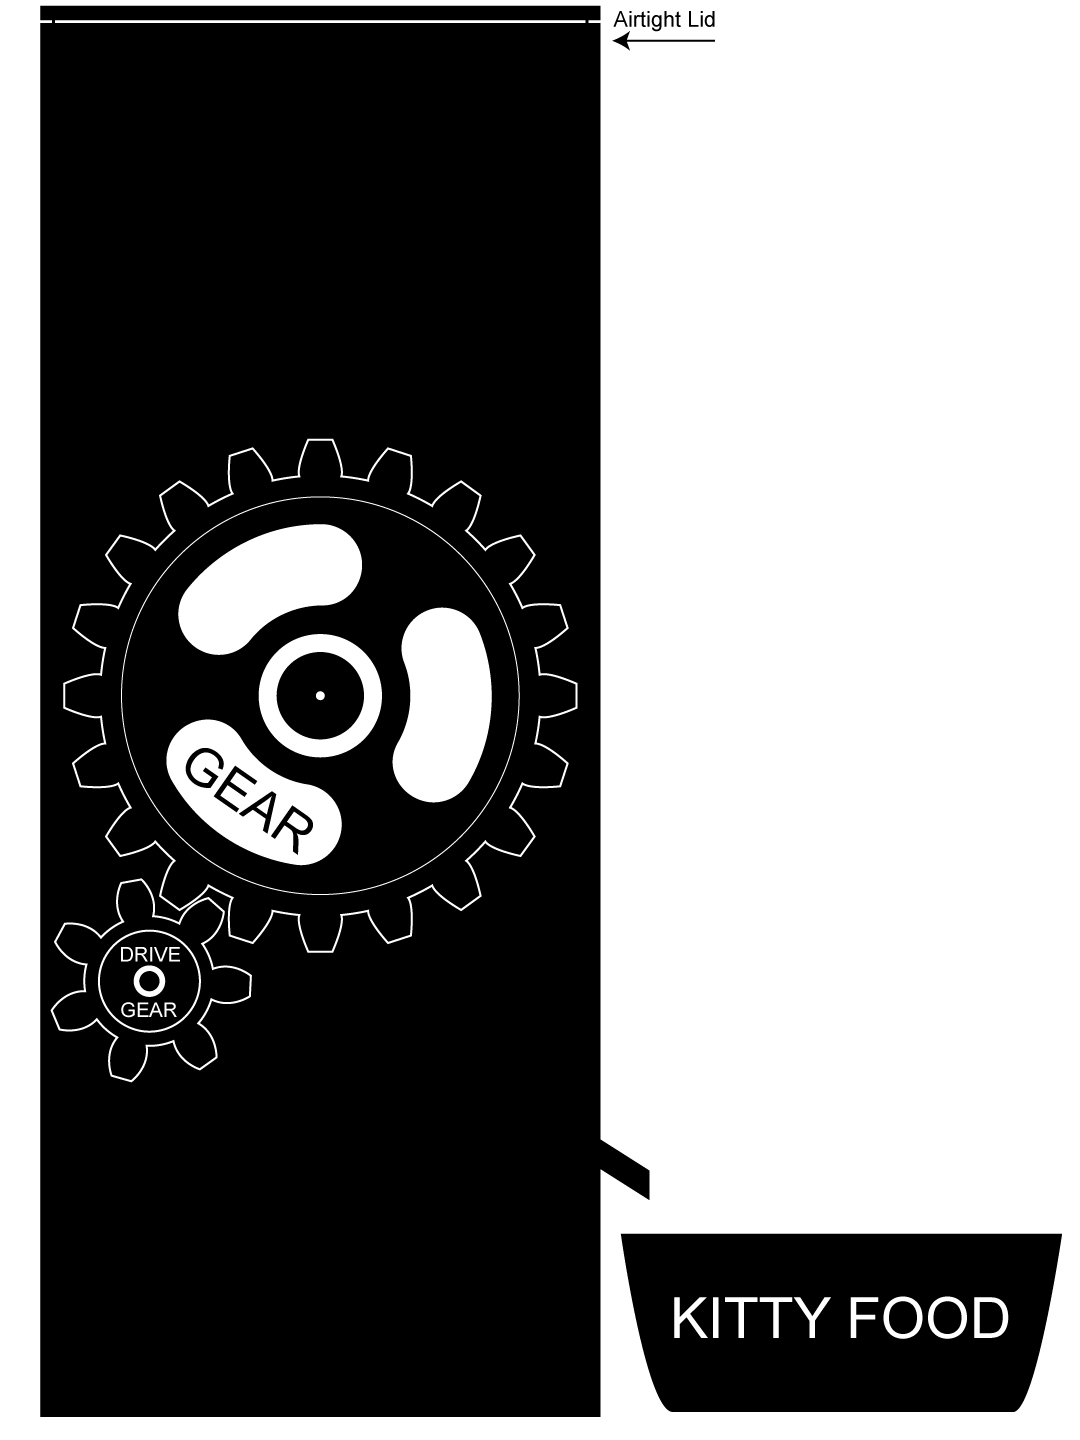
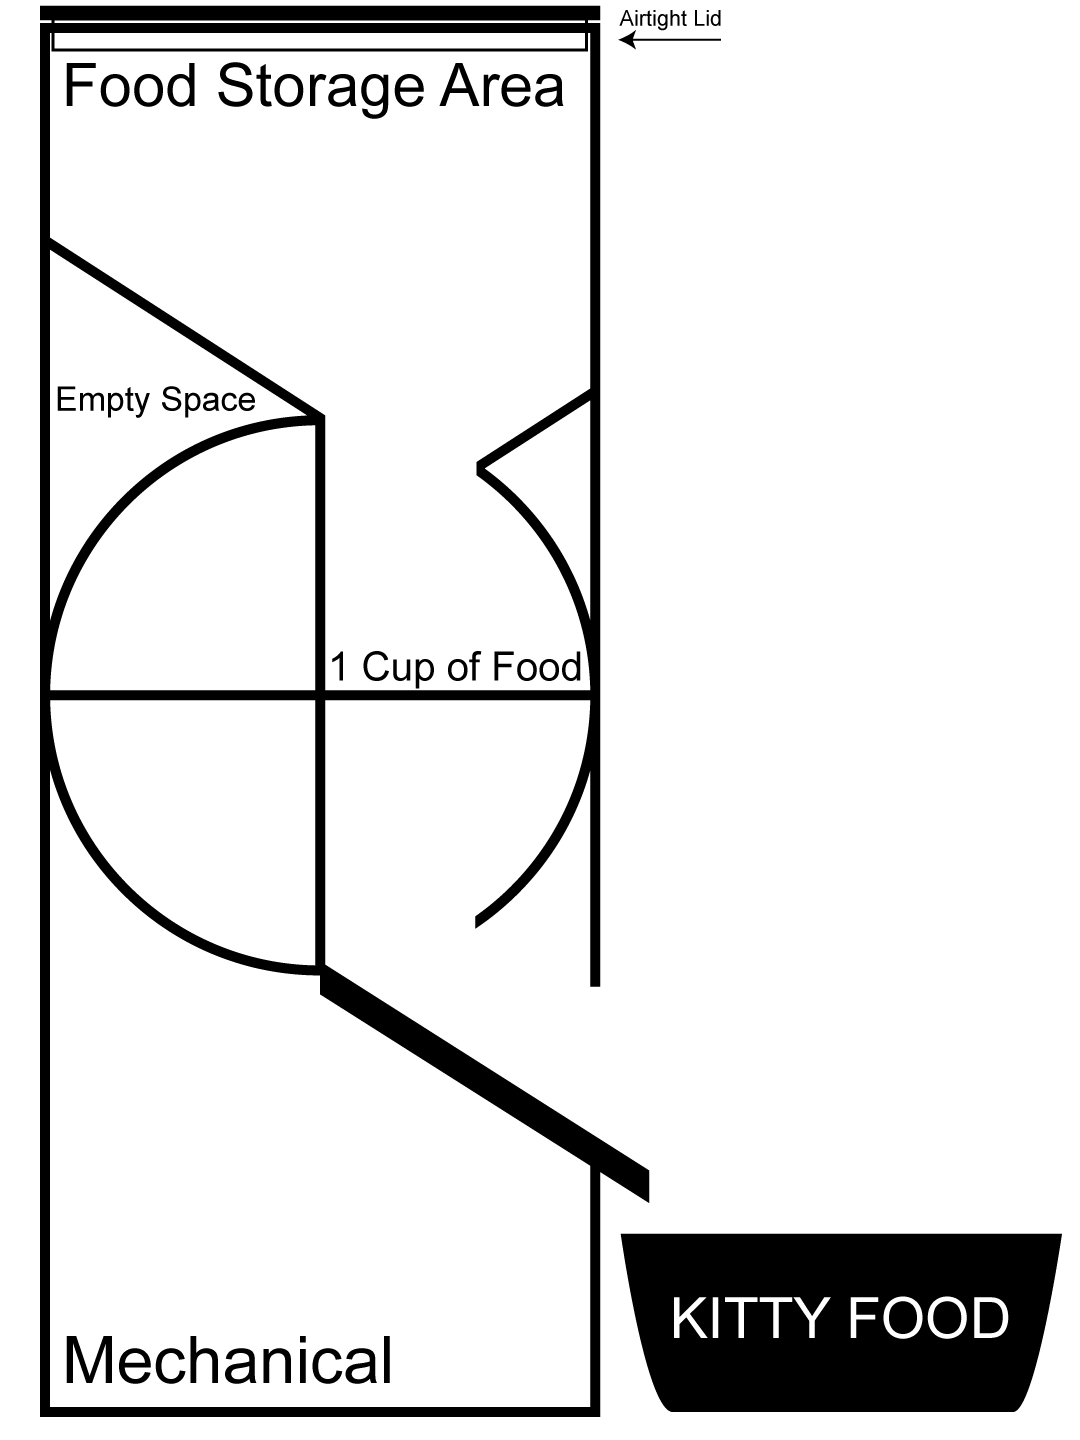
Use the shape tool to create a circle, increase the stroke, then expand. Then add rectangles on top of where you would like to cut the shape. Use the pathfinder tool (found under window) select all 3 shapes and then use the minus front option to take away that part of the circle. (see the next two images)
Then add text using the text tool. By clicking once you will create a line where you can type. Use the selection tool and the bounding box (the box around the text) to resize the text.
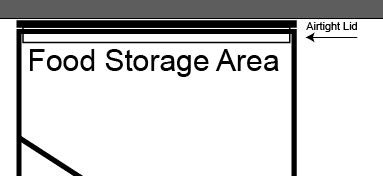
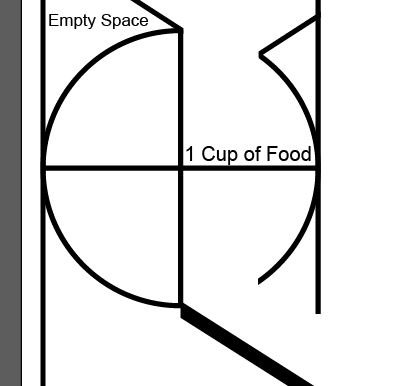
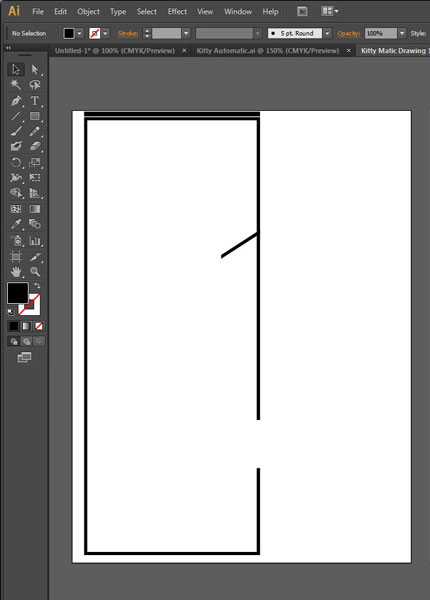
You can then use the pen tool by clicking to create an anchor and then clicking again to create a straight path. If you click and drag you will be able to get a curved line. You can later alter these lines with the direct selection tool if you need. That is how I created the Kitty Food Dish below.

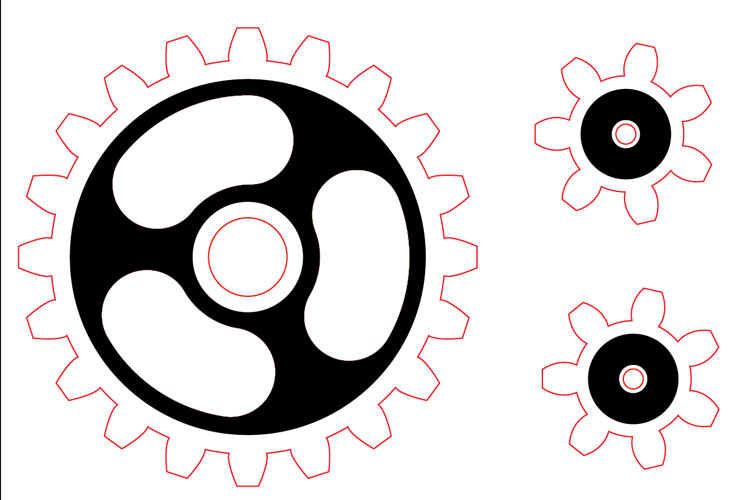
I have also used Illustrator to start thinking about the concept of how to turn the wheel inside of the box and here are the initial sketches of the gears.
Project 2 Photos